5.2. Sections
A section is a cohesive set of Attributes of the Central or Custom Taxonomy depicting a sub-domain of a safety event registered in an E2 report.
The Views consist of sections. As long as a section is associated with a view, the section cannot be edited.
Administrators can access and manage ‘Sections’ by clicking on ‘Sections’ of the ‘Views management’ menu (image above).
The system will display the Sections management page:
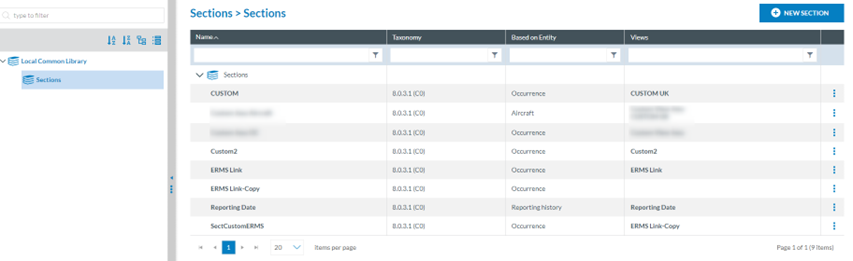
The Sections available to the Administrator are saved under the Local Common Library, Sections folder or its subfolders.
The table of sections displays the folder where Sections are stored and the following columns that also work as filters:
· Name: unique for each Section
· Taxonomy: The Administrator can only select the last released version
· Based on Entity: it sets the Entity of the Taxonomy on which the section is based
· View: the view to which it is associated
Above the table, there is a ‘New section’ button to create sections.
5.2.1. Section Management
5.2.1.1. Create a section
The Administrator can create a section through the ‘New Section’ button above the table of sections. The Administrator has to click on this button, and the system will display the Section page:
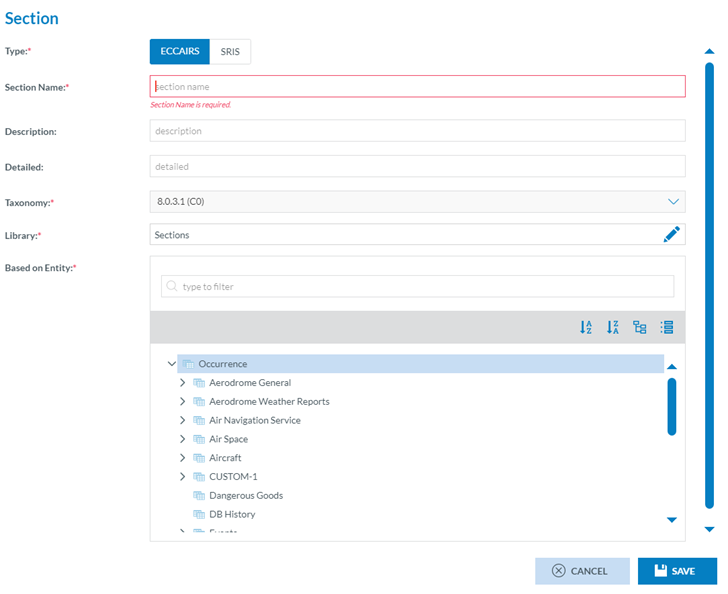
The mandatory fields are the following:
· Type: ECCAIRS or SRIS, depending on the Authority type
· Section Name: unique for each section
· Taxonomy: it sets by default the last released version
· Library: it sets the ‘Sections’ Library under the Local Common Library. If existing, it could be a subfolder of sections
· Based on Entity: it displays the Taxonomy tree, so the Administrator has to select an Entity or sub-Entity
The not mandatory fields are only Description and Detailed, which is like a long Description.
The Administrator must fill in all the mandatory fields and click the ‘Save’ button.
The system will save the data in the database and display the new section in the list of sections.
5.2.1.2. Preview a section
The Administrator has to click on the ‘Preview’ option of the 3-dot menu of the specific section, and the system will display the Preview page of that section:
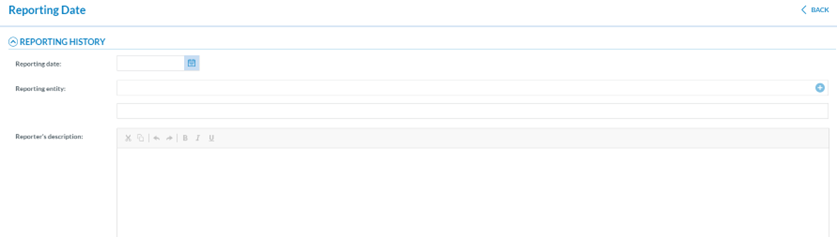
The fields are not editable since it is a Preview page.
5.2.1.3. Copy a section
The Administrator has to click on the ‘Copy’ option of the 3-dot menu of the specific section. The system will add a section to the table of sections with the same name + ‘Copy’, i.e., if the copied section is called ‘Custom’, the resulting section is called ‘Custom-Copy’; it will be identical to the copied section with the addition of ‘Copy’ in the name.
5.2.1.4. Edit a section
Only sections not being used in Views will provide the' Edit' option in the 3-dot menu of the table of sections.
The Administrator has to click on the ‘Edit Section’ option of the 3-dot menu of the specific section, and the system will display the ‘Edit’ page:
5.2.1.5. Layouts
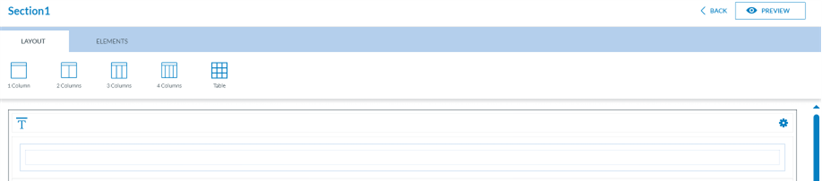
The system displays the ‘Layout’ tab by default, where the Administrator has to select a number of columns (from one to four) or a table layout. The system will add as many sections in the different layouts as needed:
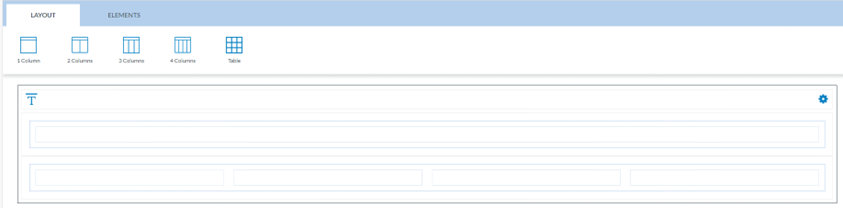
Above the added layouts, the system provides a ‘Title’ area with a configuration icon:

The Administrator can update it by clicking through the icon.
The system will display an Edit window:

The Based on Entity field will be filled in by default with the Entity in which the section is based.
By default, the Title field will be filled in with a copy of that Entity. This field will be editable by Administrators.
The Visible toggle will be activated by default. The Administrator can deactivate it and make it invisible.
Each one of the fields below the Title area can be updated through the configuration icon, as well as being moved or deleted:

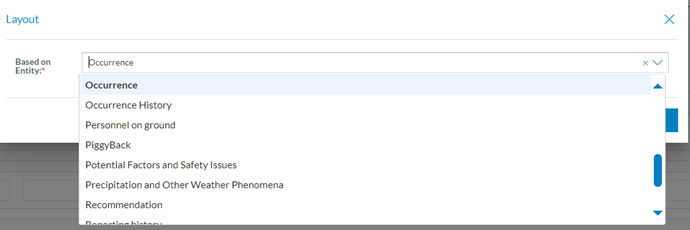
The configuration icon displays an edit window where the Administrator can update the Based on Entity field. The entities provided in the Based on Entity drop-down menu are children of the Based on Entity of the current section. The Administrator can update the field and click on the Save button:
The rubbish icon deletes the specific field, and the Administrator can alter the order of the fields by clicking the arrows.
5.2.1.6. Element
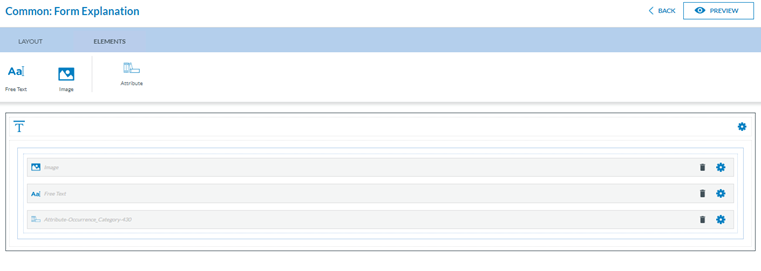
The second tab of the Section preview page is the Elements tab. The Administrator can click on this tab next to the Layout tab, and the system displays:
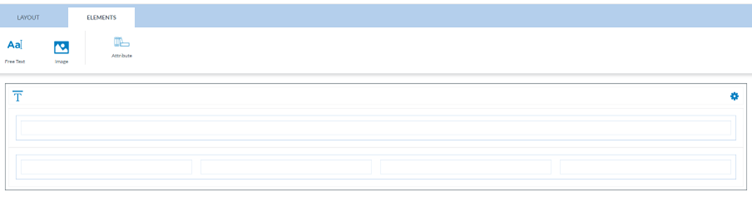
The Administrator can add a free text field, an image, or Attributes through this tab.
The Administrator has to drag the specific elements and drop them in the necessary fields individually.
Free text: When dropping it, the system will open a Free text window:
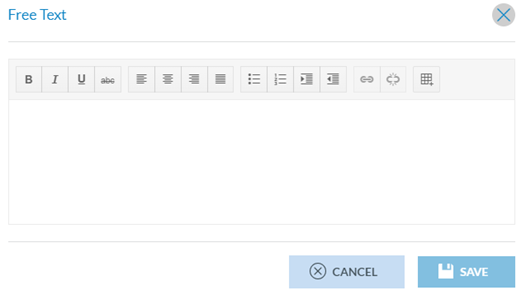
The user must fill it in with text and click on Save. Once saved, the system will display the Free text Attribute in the selected field:

Image: to add an image, the Administrator has to drag the ‘Image’ element to the specific field, and the system will open the upload image window:
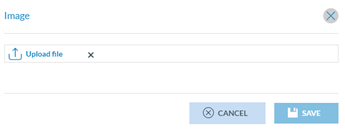
The Administrator has to click on ‘Upload file’, and the system will open the image browser. The Administrator has to select an image and click on the Save button.
The system will add the image element to the selected field:

Attribute: The Administrator has to drag the ‘Attribute’ icon and drop it in the desired field. The system will open the Attribute window:
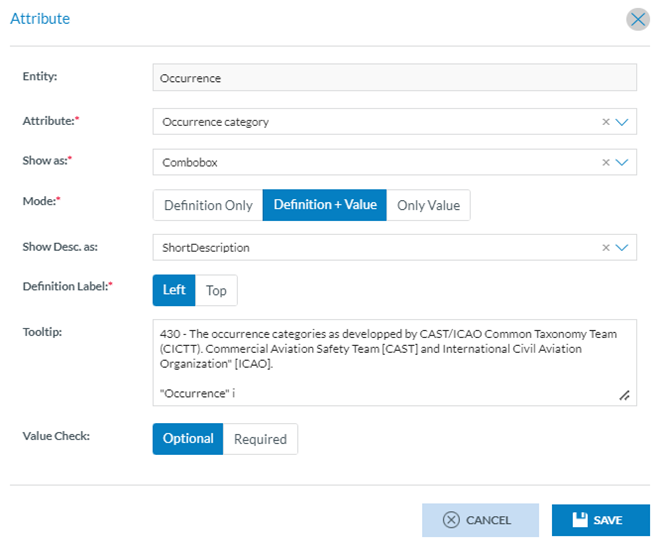
Therein, the Administrator has to fill in the
· Attribute: this drop-down menu provides the Attributes of the Entity of the section (Occurrence in this case)
· Show as: depending on the selected Attribute datatype. This drop-down menu offers different options, i.e., combo box, radio button, tree-view, etc.
· Mode: By default, the system provides ‘Definition+Value’, but Definition Only or Only Value instead can be selected
· Show Desc.: This field does not appear when selecting the ‘Only Value’ Mode. When appearing, by default, it sets Short description, but the following are also available:
ü Description
ü Explanation
ü Extended
· Definition Label: By default, it sets ‘Left’, but the Administrator can also select ‘Top’
· Tooltip: it is set by the system once the Attribute is selected; it includes the Attribute number, as referred to in the Taxonomy, and a Taxonomy definition that the Administrator can extend
· Value check: By default, it sets ‘Optional’, meaning that filling this Attribute in the section is not mandatory. The Administrator can put ‘Required’ if the field is compulsory in the section.
Once the Administrator has filled in the mandatory fields, they have to click on the Save button, and the system saves the updates of the section in the database and returns to the ‘Edit section’ page in the Elements tab, including the selected Attribute in the chosen field.
The Administrator can click on the ‘Preview’ button above the tabs, and the system will display the Preview page for that section, with the layout and elements previously selected:

5.2.1.7. Edit properties of the section
The Administrator has to click on the ‘Edit Section properties’ option of the 3-dot menu of the specific section, and the system will display the Edit Section properties page:

All the fields are editable except the Taxonomy and the ‘Based on Entity’, which is the Entity selected through the section creation process. The Type can be chosen amongst ECCAIRS and SRIS only if the Authorities are dual (NAA and SIA).
The ‘Used in Views’ in the example is empty because this section is not associated with any view yet, but when used, this association is not editable through this page. The association is created through the ‘Views’ menu.
The Administrator must update the desired fields and click the ‘Save’ button. The system will save the database updates and update the table of sections accordingly.
5.2.1.8. Delete a section
The Administrator can only delete the sections if they are not used in a view.
The Administrator has to click on the ‘Delete’ option of the 3-dot menu of the specific section, and the system will display a confirmation message. Suppose the Administrator confirms the action and the section is not used. In that case, the system will be deleted from the database, a message will be displayed on the section deletion, and the section of the table of sections will be removed.